
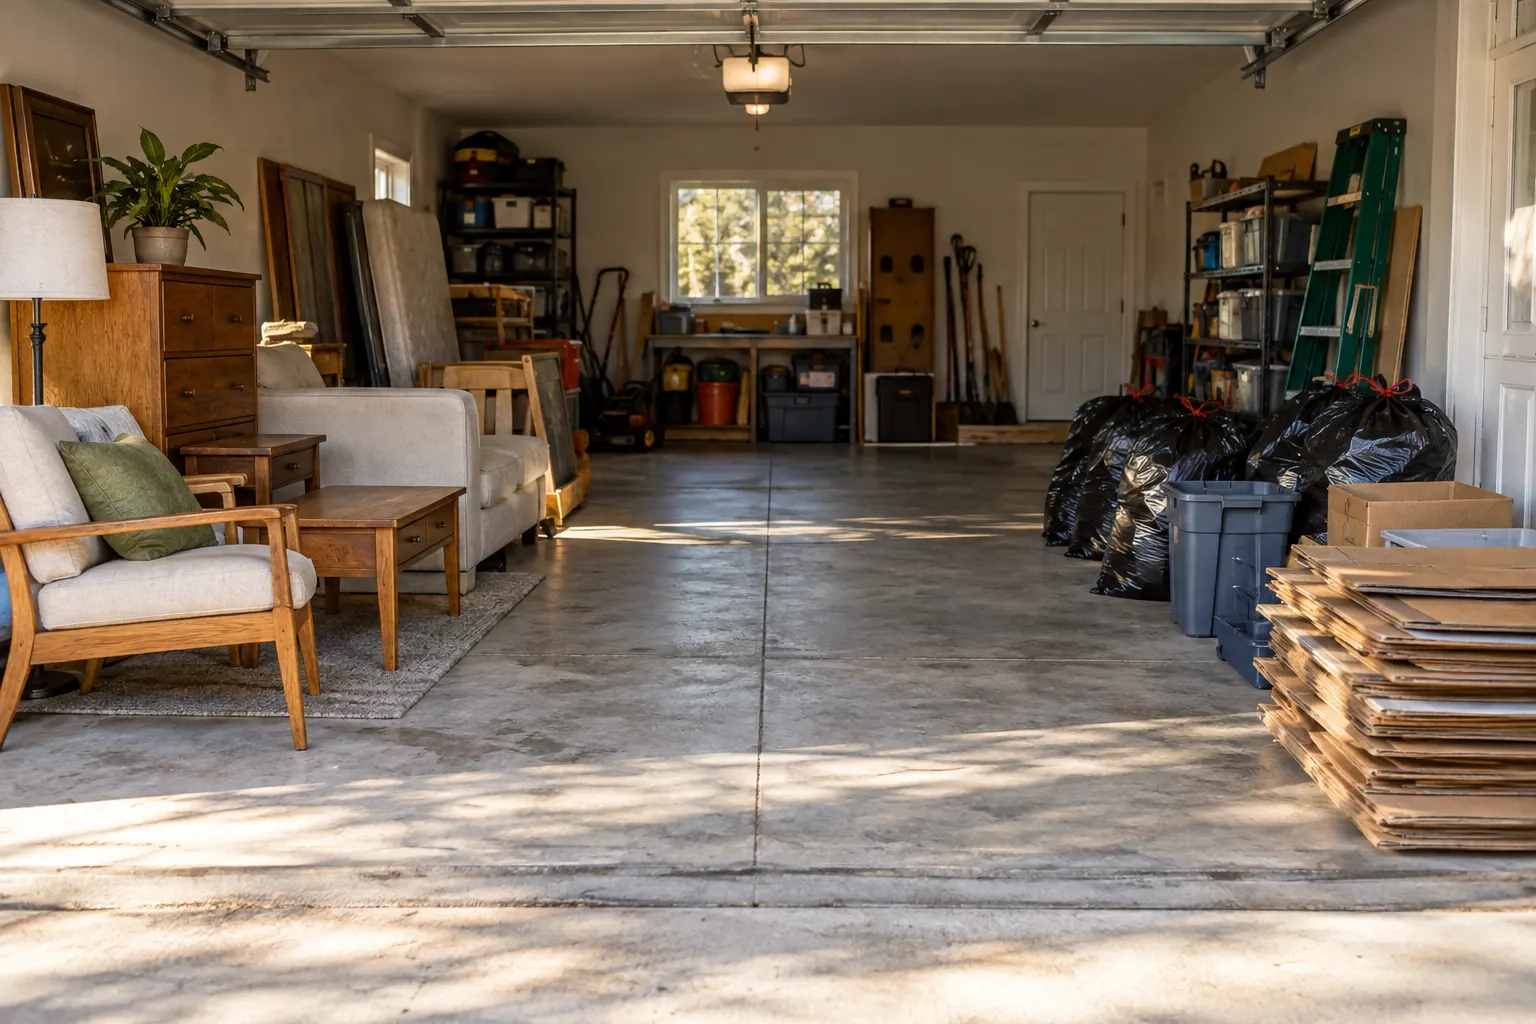
Begin with four destinations: keep, donate or reuse, approved disposal, and ask first. Label the zones, keep a clear path between them, and wait for material approval before placing anything in the dumpster.
Define the stopping point
“Clean the garage” can quietly turn into the attic, side yard, and spare room. Write down the spaces included in this round and the date the property needs to be usable again. A clear boundary makes the volume estimate and rental period more realistic.
Project card
- Spaces included: ____________________
- Spaces excluded: ____________________
- Must be clear by: ____________________
- People available to sort or load: ____________________
- Largest item: ____________________
- Heavy or restricted material: ____________________
Create four sorting zones
| Zone | What belongs there | Rule |
|---|---|---|
| Keep | Items returning to a known room or storage location | Label the destination, not just “keep” |
| Donate or reuse | Clean, working items with a confirmed next step | Set a deadline so this does not become a second storage pile |
| Approved disposal | Material the provider has confirmed | Keep it measurable and separated until delivery |
| Ask first | Paint, electronics, appliances, batteries, tires, mattresses, chemicals, and unknown items | Nothing leaves this zone without an answer |
Use boxes or reusable bins for small items. Avoid overloaded bags with sharp edges or unknown liquid. Keep the labels large enough to read from the walking path.
Protect the walking and loading route
Choose one route from the work area to the proposed container location. Remove cords, rugs, low stools, loose tools, and anything that creates a trip or pinch hazard. Keep doors secured open only when it is safe to do so, and avoid stacking material near exits.
OSHA’s materials-handling guidance for workplaces notes that awkward lifting, extended reaches, twisting, and lifting from floor level can contribute to injury. Homeowners should not treat a cleanout as a test of strength. Use appropriate carts or mechanical help for heavy or bulky material, and leave items in place when safe handling is uncertain.
Measure after sorting
The disposal pile becomes easier to estimate once donation, hazardous waste, and keep items are out. Measure the remaining pile and photograph it from two angles. Use the residential dumpster sizing worksheet to turn those measurements into a useful provider conversation.
Prepare for delivery
- Confirm the final placement area and property permission.
- Move vehicles and keep the full truck approach clear.
- Unlock gates and identify low branches or wires.
- Keep pets and children away from the delivery area.
- Have the decision-maker reachable.
- Review the accepted-material list and fill limit once more.
Load with the pickup in mind
Follow the container’s access and loading instructions. Distribute material as directed, keep items within the walls, and do not exceed the fill line. Do not climb on unstable debris or reach under shifting material. Stop if an item leaks, smells chemical, contains a battery, or does not match the approved list.
Keep the truck approach open after loading. A parked car, new material pile, or locked gate can prevent pickup even when the container itself is ready.
Final walk-through
- Every room in scope has been checked.
- Donation items have a confirmed recipient or deadline.
- Hazardous and electronic waste is separated.
- No approved-disposal item blocks an exit.
- The container is within the fill limit.
- Nothing hangs over the side.
- The pickup route is open.
Safety source checked September 23, 2026: OSHA Materials Handling. OSHA rules apply to covered workplaces; the linked guidance is cited here for general risk awareness, not as a substitute for professional assessment or training.
Turn the sorted pile into a useful request.
Share the measurements, item list, placement photos, and preferred timing.
See how to contact ClearPath